Chapter 20 CC18
Chapter 20: Video
Exercise 1 : Draw Solar and Lunar Solid
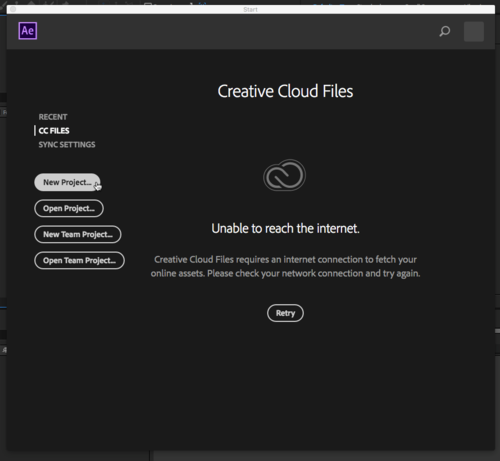
1. Open Adobe After Effects. Select “New Project…” in the startup menu.
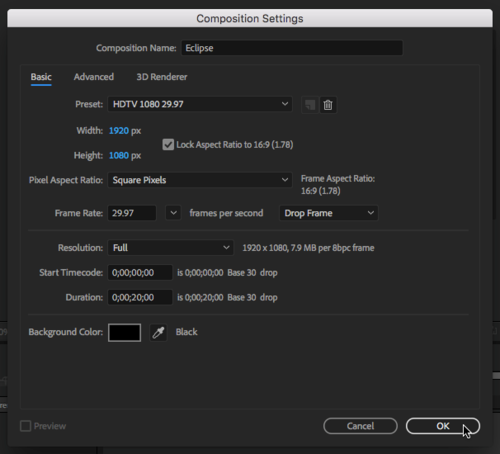
2. Select “New Composition.” Name the Composition “Eclipse” Make sure the width is set to 1920 px and the height is set to 1080 px. Set the frame rate by selecting 29.97 from the pull-down menu. Set the Duration to 20 seconds which is 0;00;20;00. Press OK.
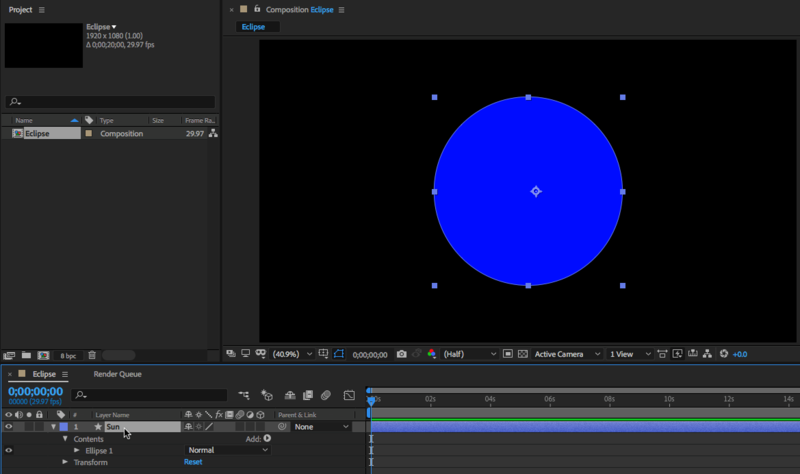
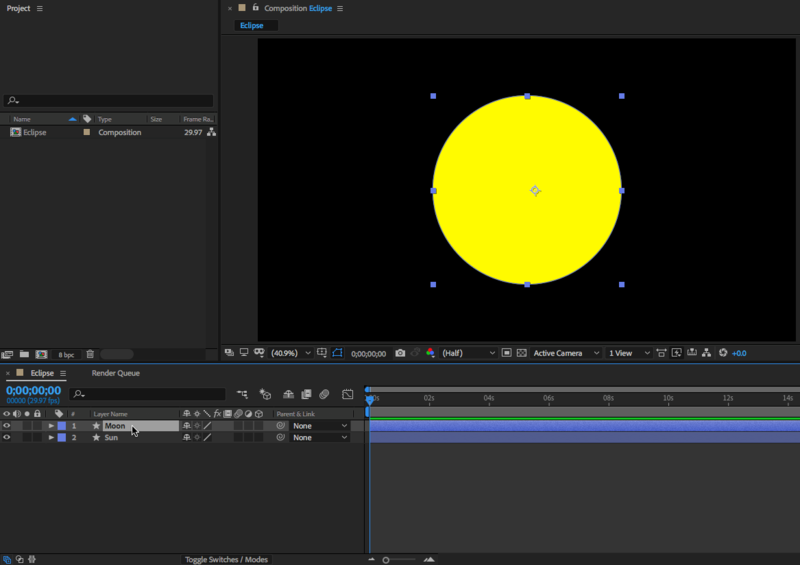
3. In the center of the comp create a circle by using the ellipse tool and name this layer “Sun.”
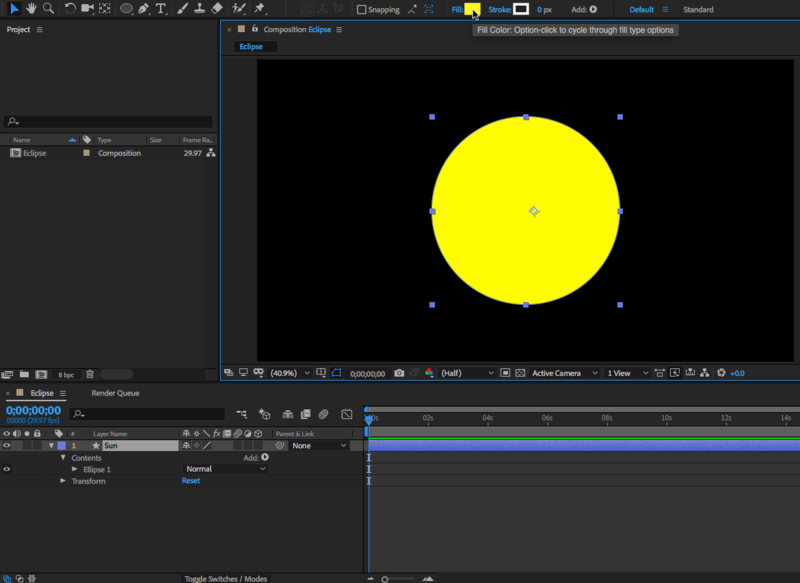
4. Change the shape so that the Fill Color is yellow and no Stroke Color.
5. Duplicate the “Sun” layer and rename the duplicate “Moon.”
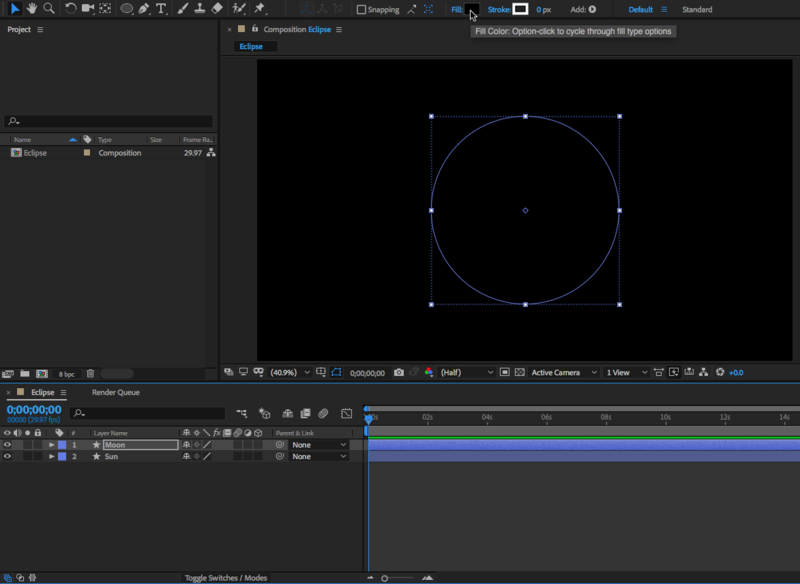
6. Change the Fill color of the “Moon” to black.
Exercise 2 : Add Glow Effect and and Keyframes
1. Select the “Sun” layer and search for the “Glow” effect in the Effects & Presets Panel.
[[File:]]
2. Double click on the Glow effect to apply it to the “Sun” layer.
[[File:]]
3. Under Glow > Glow Radius in the Effect Controls Panel, change the value to 300.
[[File:]]
4. Go to the 9 second mark on the timeline and create a keyframe next to Glow Radius.
[[File:]]
5. Move the playhead to the 10 second mark and change the Glow Radius to 1000.
[[File:]]
6. Move the playhead to the 11 second mark and change the Glow Radius back to 300.
[[File:]]
Exercise 3 : Animate Transit
1. Move the playhead to the first frame. Move the “Moon” layer to the bottom right corner of the composition and make a Keyframe for position under Transform > Position.
[[File:]]
2. Move the playhead to the last keyframe and change the position so that the shape is at the top left of the composition.
[[File:]]
3. Press SPACE to preview. This will make the “Moon” layer transit across the composition and create an eclipse.
Exercise 4 : Add First Lens Flare and Keyframes
1. Create an adjustment layer by clicking on Layer > New > Adjustment Layer. Rename this layer “First Flare” and make sure it is the top layer in the Layers Panel.
[[File:]]
2. In the Effects & Presets Panel, search for “Lens Flare” and double click it to apply it to your adjustment layer.
[[File:]]
3. Under Effects > Lens Flare > Flare Center, change the the Flare Center position so that it is slightly above and to the left of the center of the “Sun” layer. (See screenshot for reference)
[[File:]]
4. Move the playhead so it is at the 2 second mark and create a Keyframe for the Flare Center.
[[File:]]
5. Move the playhead to the 9 second mark and change the Flare Center Position so that it is towards the upper left edge of the “Sun” shape.
[[File:]]
6. Move the playhead to the first frame and change the value of Flare Brightness to 0%.
[[File:]]
7. At the 2 second mark, make a keyframe for Flare Brightness.
[[File:]]
8. Then move the playhead to the 9:15 second mark and bring the value for the Flare Brightness up to 150%.
[[File:]]
9. Move the playhead to the 10 second mark and make another Keyframe with the Flare Brightness at 0%.
[[File:]]
10. Press SPACE to preview the composition. The moon should be transiting across the sun with the lens flare growing in brightness then quickly disappearing once the moon is directly over the sun.
Exercise 5 : Add Second Lens Flare and Keyframes
1. Create another adjustment layer by clicking on Layer > New > Adjustment Layer. Rename this layer “Second Flare” and make sure it is the top layer in the Layers Panel.
[[File:]]
2. In the Effects & Presets Panel, search for “Lens Flare” and double click it to apply it to your adjustment layer.
[[File:]]
3. Under Effects > Lens Flare > Flare Center, change the the Flare Center position so that it is at the bottom left edge of the “Sun” layer. (See screenshot for reference)
[[File:]]
4. Move the playhead so it is at the 10 second mark and create a Keyframe for the Flare Center.
[[File:]]
5. Move the playhead to the 18 second mark and change the Flare Center Position so that it is towards the center of the “Sun” shape.
[[File:]]
6. Move the playhead to the 10 second mark and make a Keyframe for the Flare Brightness at 0%.
[[File:]]
7. Move the playhead slightly right to the 10:15 second mark and make another Keyframe with the Flare Brightness at 150%.
[[File:]]
8. Then move the playhead to the 18 second mark and bring the value for the Flare Brightness down to 0%
[[File:]]
9. Press SPACE to preview the composition. The moon should be transiting across the sun with the first lens flare growing in brightness then quickly disappearing once the moon is directly over the sun. As the Moon continues transiting across, the second lens flare grows then slowly disappears as the Moon leaves the frame. Some adjustments to the values keyframes may be needed if certain animation do not line up correctly.
